Developing in a Docker container
Developing within a Docker container has become a common practice in the software development workflow. It offers various benefits, such as ensuring consistent environments, reproducibility, and isolation.
Using docker means not having to have complex software server applications installed locally. Instead, they are run in ‘sealed’ containers, held discrete from the local computer. In an example Use Case of developing code in Python, for example, a docker container holding the latest version of Python, plus the Python script can be built and run. However, in this use case, to edit the Python script and rerun it, the image container needs to be rebuilt in docker each time there are changes made to the code. Docker can use ‘bind mounts’ to circumvent this for development purposes. The folder holding the source code is ‘mounted’ into the container image, meaning that the source code can then be edited and run immediately in the image without needing to be rebuilt.
Combining Docker with a bind mount in VScode makes life so much easier. Here’s a step-by-step guide to get started with developing in a Docker container:
- Install Docker: Make sure you have Docker installed on your system. You can download and install it from the official Docker website based on your operating system. 2. Create a Dockerfile: A Dockerfile is a text file that contains instructions for building a Docker image. Create a new file named Dockerfile in your project’s root directory. Here’s a basic example of a Python project:
# Use an official Python runtime as the base image
FROM python:3.10.6-buster

COPY requirements.txt /requirements.txt

RUN pip install --upgrade pip RUN pip install -r requirements.txt

# Set the working directory

WORKDIR /app

# Define the command to run when the container starts

CMD \["bash"\]- Build the Docker Image: Open a terminal, navigate to your project’s directory containing the Dockerfile, and run the following command to build the Docker image:
docker build -t myapp .Here, myapp is the name you’re giving to your Docker image, and the dot . indicates the build context (current directory).
- Run the Docker Container: After building the image, you can run a container from it using the following command:
docker run -d -it --hostname yourname -v /path/to/folder/holding/the/source/code:/app myappHere, -d runs the container in detached mode, -it allocates a pseudo-TTY and keeps STDIN open even if not attached, -- hostname simply indicates the container’s hostname , finally -v will bind mount a volume following given its path.
Connect with VScode: Now that you have your development environment inside a Docker container, you can edit your code directly inside the container using VScode. Changes you make to your code will be reflected within the container. This way, you can edit code on your host machine and see the changes in the container immediately.
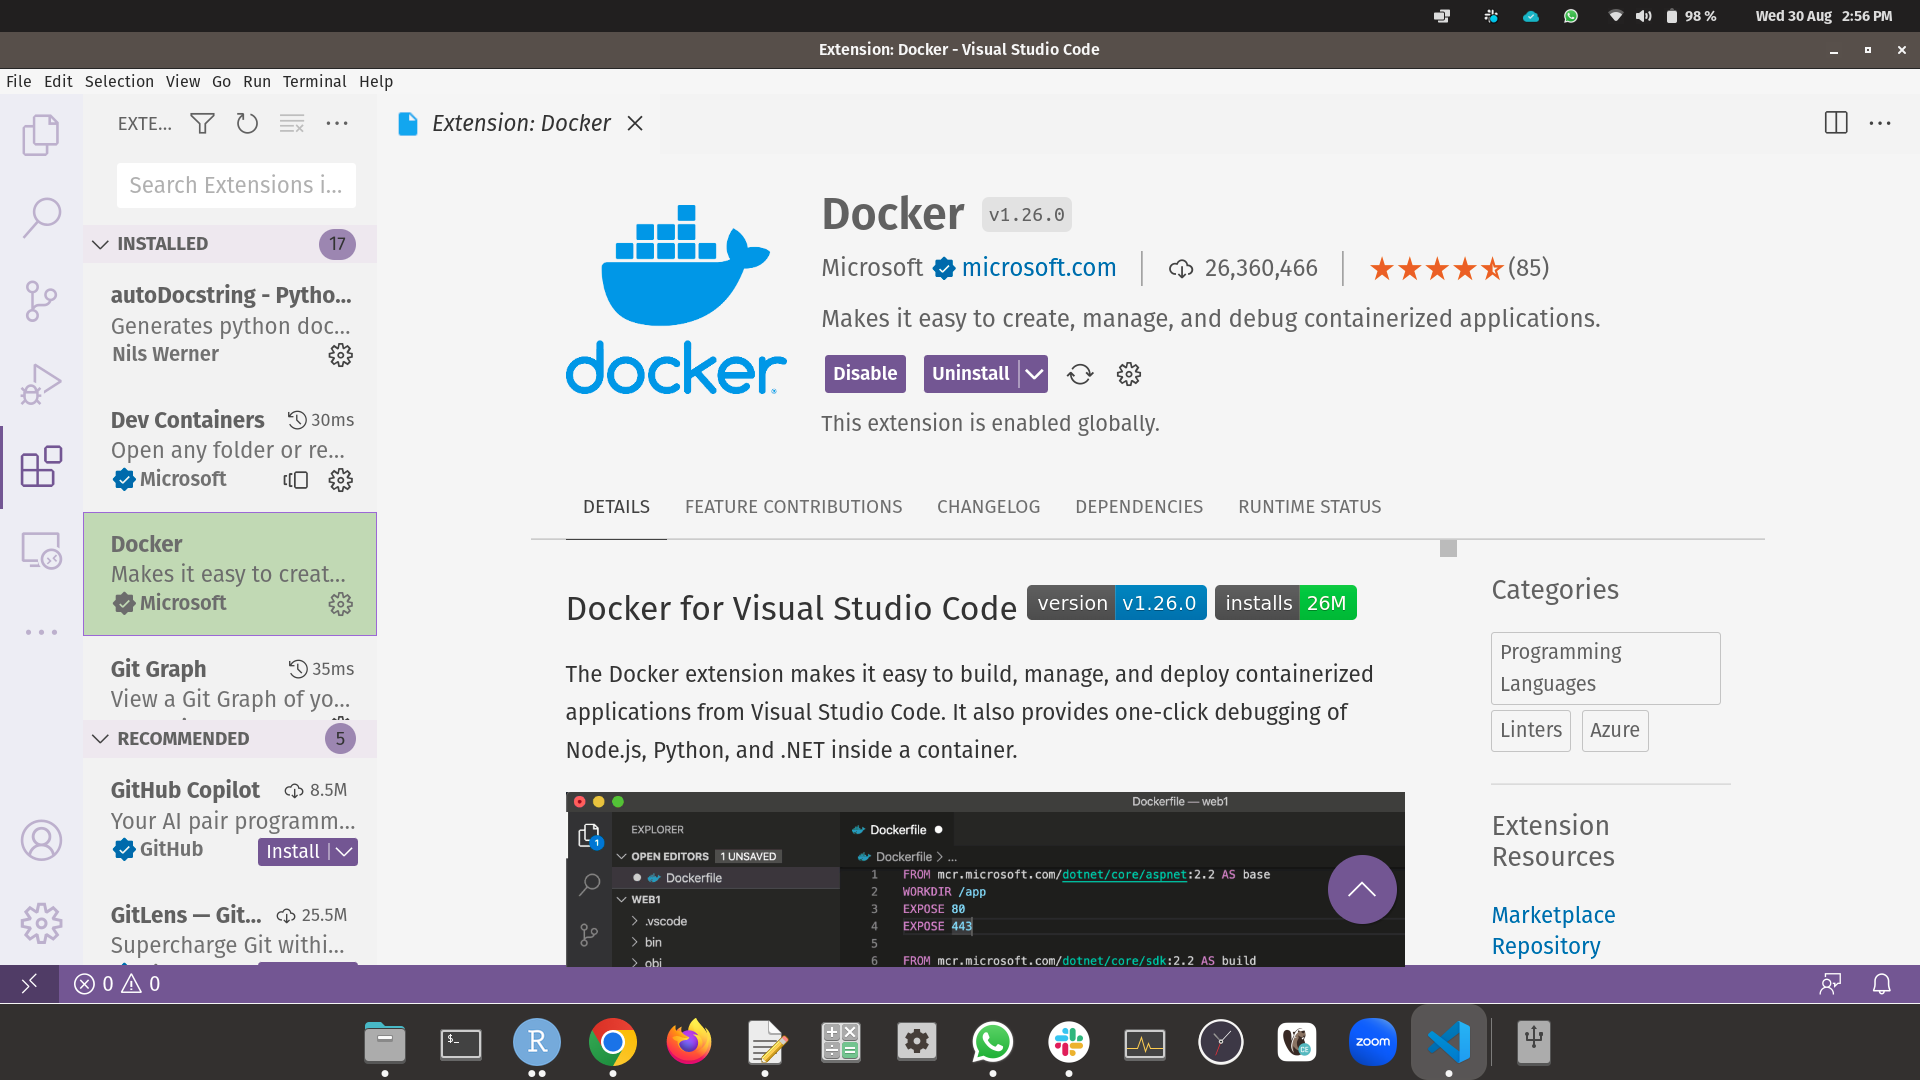
To do so, you will need to install the docker extension as shown below.

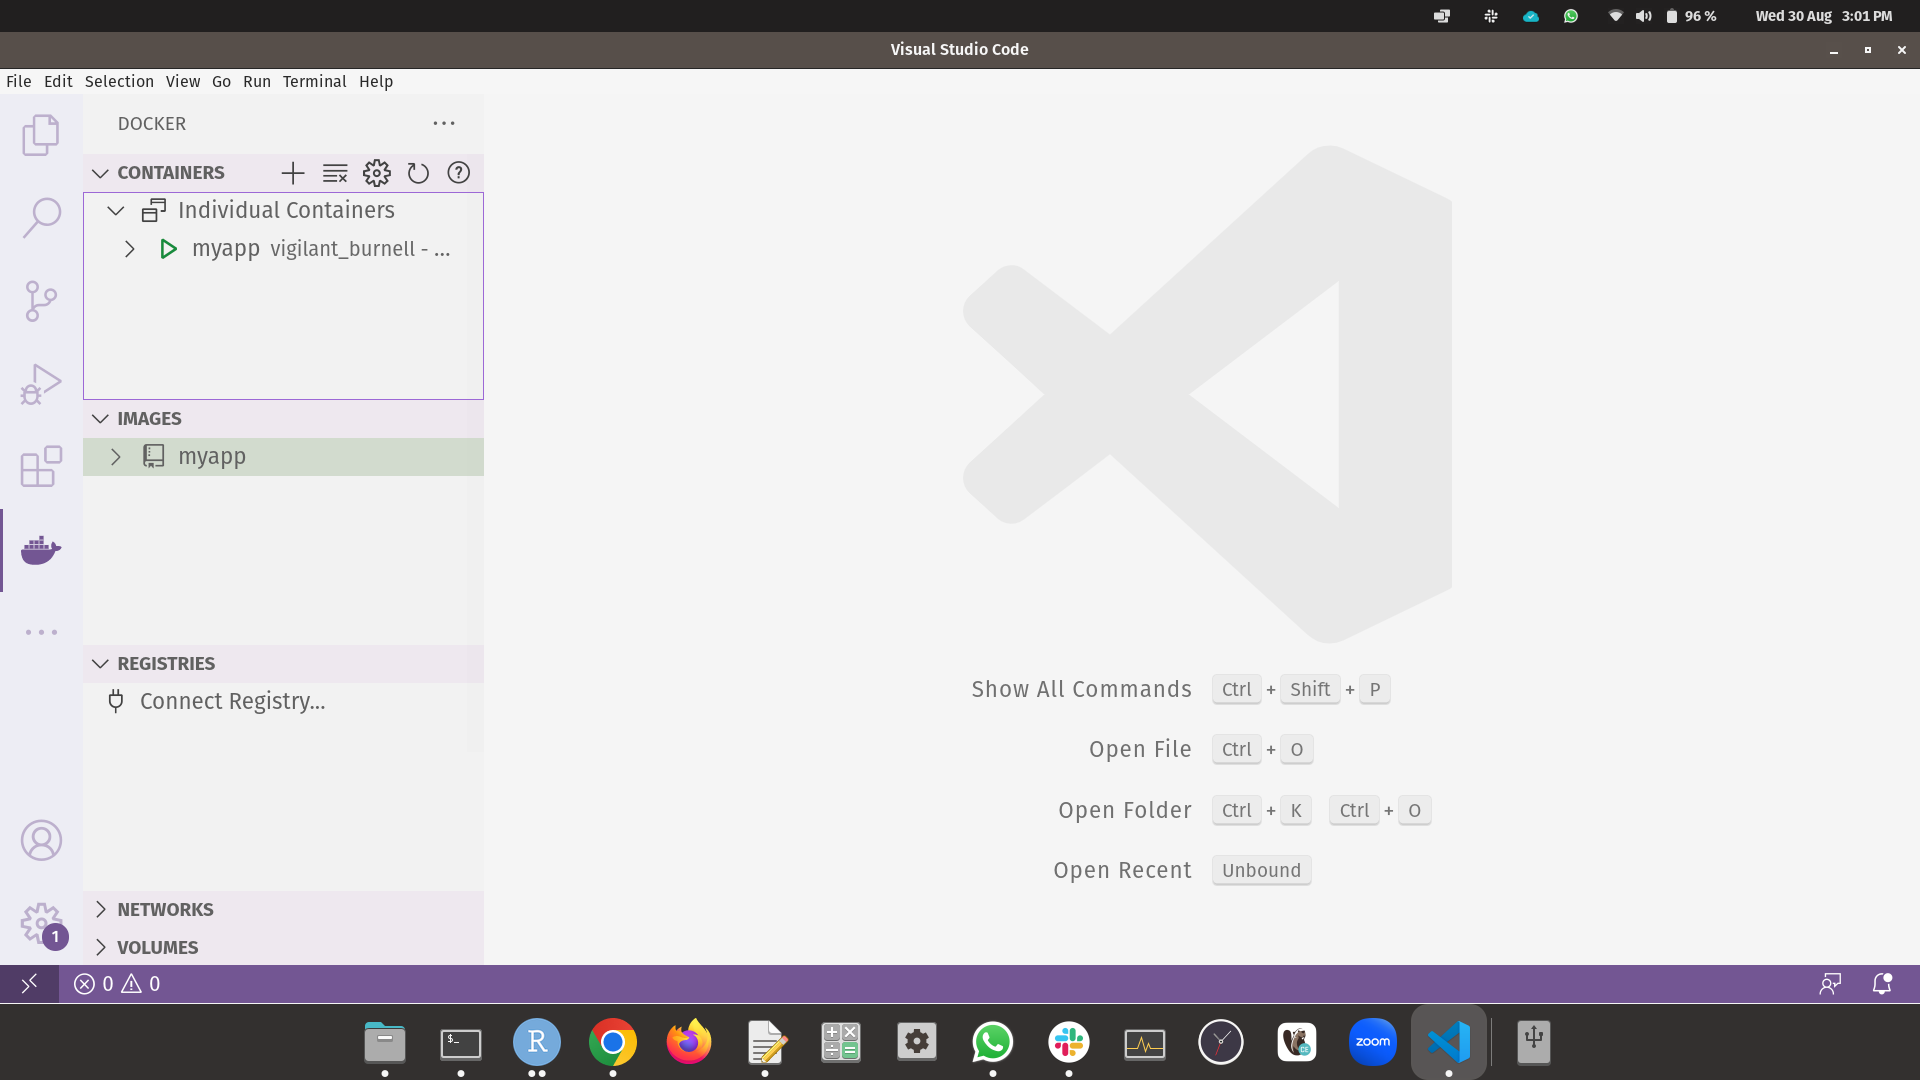
Once you have installed the extension, go on the docker icon in the left side bar and this is what you will see.

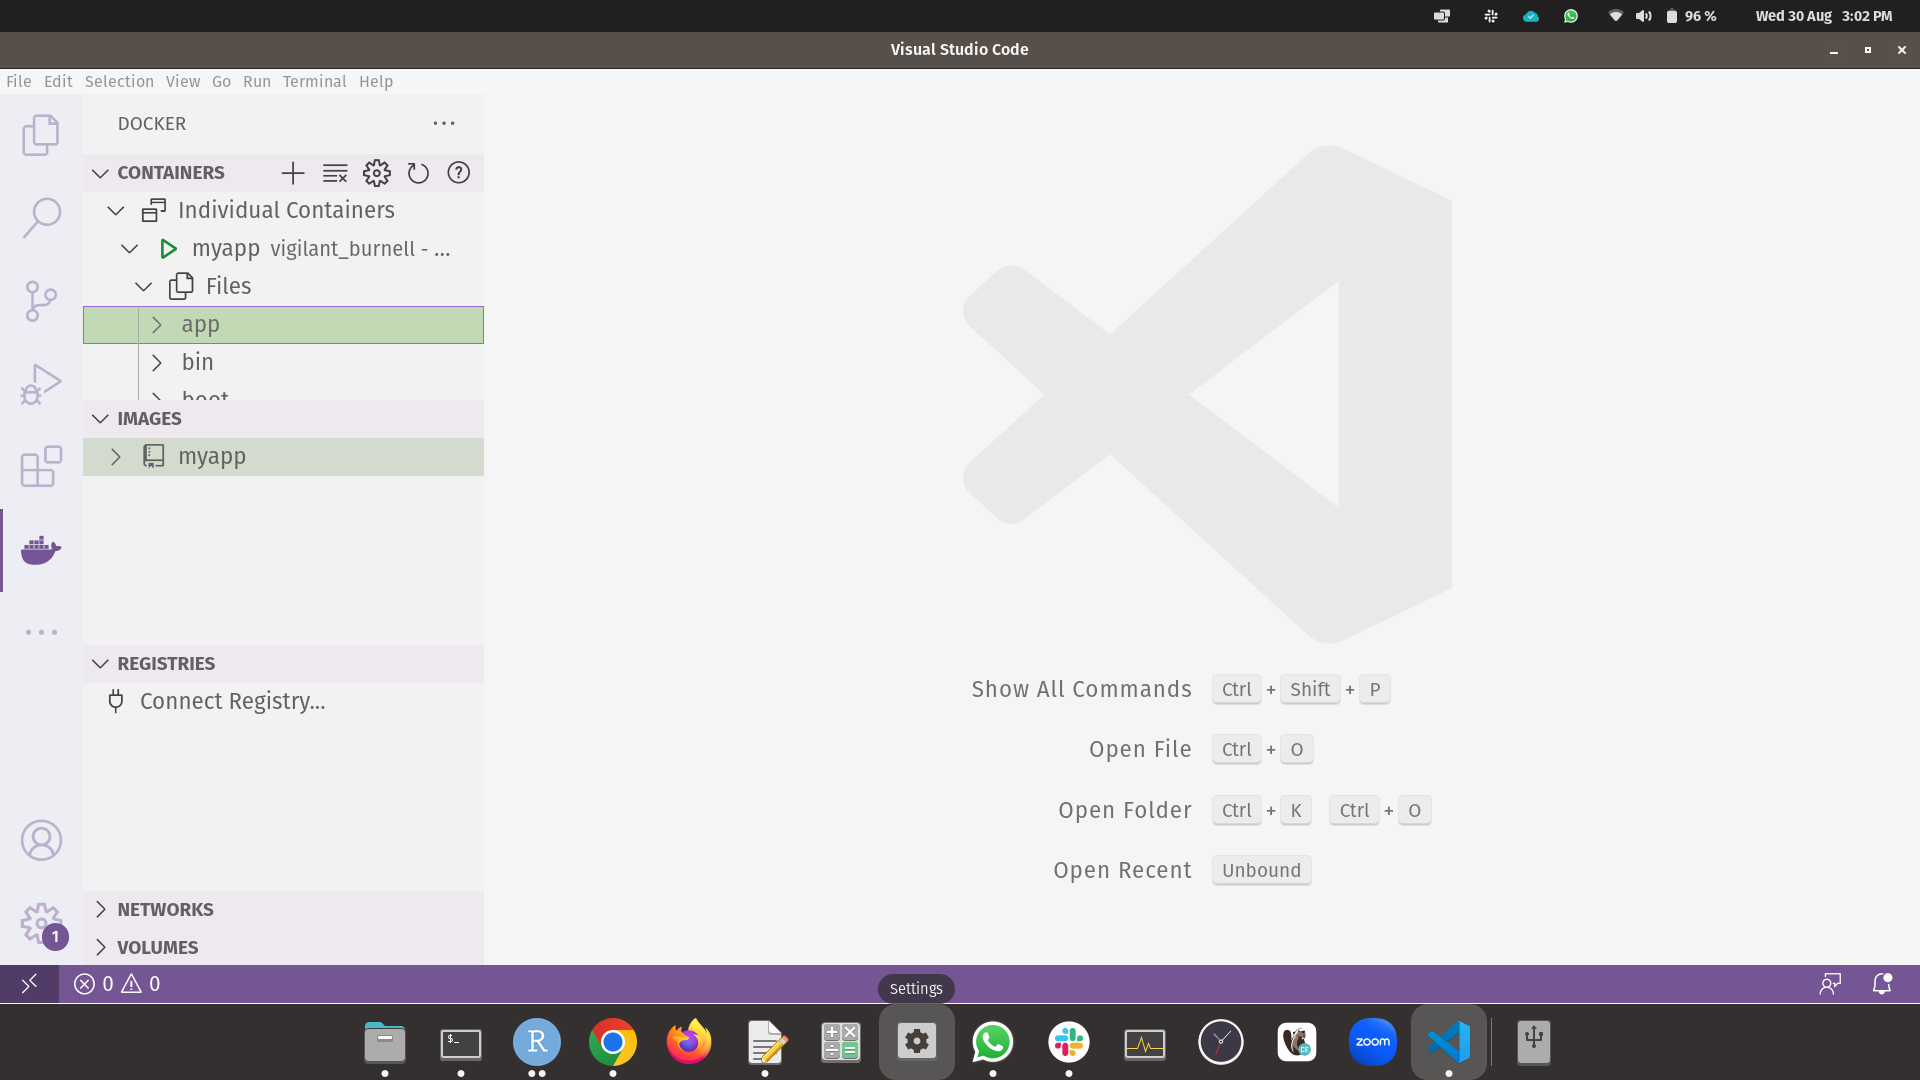
And here is the app folder inside the container.

Finally you just need to right click on the container and you will see th option to Attach Visual Studio Code. This will open a new VScode window. Now you are inside the container you can start to develop. All changes you will made to the files in the attached folder will affect the local folder as well.